Overview: What Is This Training All About?
Course Description:
In this course you will learn how to enter a new contact, setup a saved search, and how to setup email notifications. You will also learn how to setup a Collab Center notification and how to utilize Collab Center effectively.
Course Outline:
-
Module 1: Getting Started
-
This module will cover the basics of navigating to the contact manager and creating a contact in Paragon.
-
-
Module 2: Saved Search
-
This module will go over ways to setup a saved search to be used for notifications.
-
-
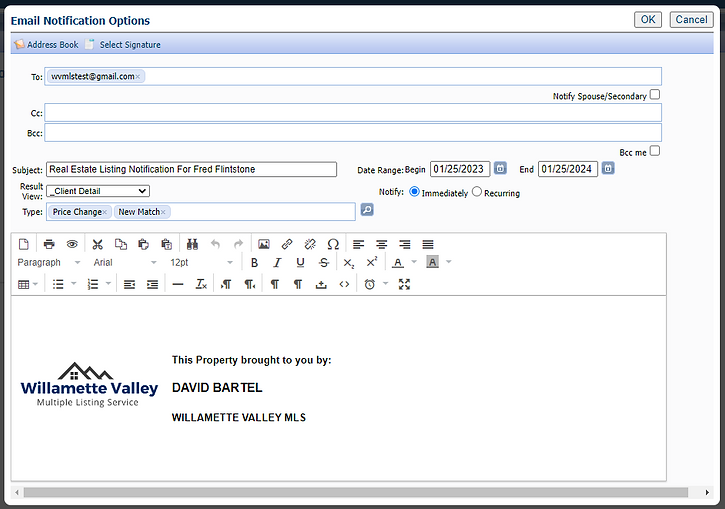
Module 3: Email Notifications
-
This module will cover how to setup email notifications for a contact.
-
-
Module 4: Collab Center
-
This module teaches how to setup Collab Center notifications for a contact, how to navigate Collab Center, and finally how to utilize Collab Center to the fullest.
-
-
Module 5: Support
-
This module will go over further resources for support when using Contact Manager & Collab Center.
-
Module 1: Getting Started
There are a few options when it comes to logging into Paragon, all of which can be found on the WVMLS website (www.wvmls.com). By scrolling down on the main page, you'll find a navigation carousel. Within this carousel, clicking on the 'Paragon Login' button will take you to the login page.

The second option is found by clicking the 'Member Login' link at the top of the page and then navigating down to the Paragon Login Banner a little further down the page.


These will take you to the Paragon Login screen (pictured below). Here, you will input your username and password to log in to Paragon.

Module 2: Saved Search
Starting A Search
Min

Clicking on 'Search' in the top navigation of Paragon will open a drop-down menu. This menu has 3 different columns labeled: Search By Class, Specialty Search, and Saved Search.
For the purpose of starting a search, we will only focus on Search By Class. Under this column, you can choose which class to search by, or if you want to do a search across multiple classes, choose the bottom option, 'Multi-Class'.
Search Tab Navigation
At the very top of the search page, you will see a tab navigation. This has three elements:
Criteria, which will automatically be selected and is how you navigate back to modify the search criteria.
Map Search, this is another way to refine your search criteria. To learn more about how to use this, take the Paragon 101 course which goes in-depth on how to search in Paragon.
Run Search, this will take you to your results view if there are any results.
Top Navigation In Search
Below the Tab Navigation is the Top Navigation of the search page. This navigation has several drop-down menus, starting with...


Load Search: This drop down allows you to load any saved search or load your default search.
Customize: This drop down allows you to customize the fields and containers present in the Search Criteria section.
Last Search: This will bring up a drop down of the last five searches you've done.

Save Search, this allows you to save the search. Both options operate the same, with the notable exception of 'Save Search As' not having a pre-filled search name.
The next to last options are Open All and Close All, which affect the search criteria section and will open all containers or close them.
The last section shows a count of the number of results as you enter criteria. Clicking 'Count' will refresh the number if it doesn't do it automatically, and clicking 'Search' will take you to the results tab.
Module 3: Email Notifications
Navigating to Add Search For Contact

To begin setting up an email notification, we will navigate back to the Contact Summary page that we went to in Module 1. On this page, we will click the Buyer Activity section to expand the drop-down menu. Here, we will be greeted by the 'Agent Recommended' and '+ Add Search' sections. For our purposes, we will click on '+ Add Search'.
Adding A Saved Search For Contact

This will open the 'Add Saved Search' section, which gives us two options: 'Add New Saved Search' or 'Load An Existing Saved Search.' Both are fairly self-explanatory, but let's dive into each option.
Add New Saved Search

This option will bring up a pop-up box that asks you to choose which class you are creating this search for. After selecting the class, you will follow the same steps outlined in Module 2 to create the Saved Search.
Load An Existing Saved Search

This option will bring up a pop-up box that asks you to choose which saved search you want to associate with this contact. Checking the box next to the search and clicking Save will then associate the search with the contact.
Module 5: Support
If you'd like to learn this information in a live class environment use the calendar below to register for the next upcoming monthly Contact Manager and Collab Center class:
At WVMLS we are here for you! If you have any questions, suggestions, or help of any kind give us a call at (503) 399-8657 or email us at support@wvmls.com.


